SAP S4HANA 1610 Distributed System Installation Part 3
Hi friends, In this post we will discuss about S4HANA 1610 Distributed System Installation, in our earlier post S4HANA 1610 Distributed System Installation we had covered installation of SAP HANA database and ASCS instance S4HANA 1610 Distributed System Installation Part 2.
SAP S4HANA 1610 Distributed System Installation Part 1
SAP S4HANA 1610 Distributed System Installation Part 2
SAP S4HANA 1610 Distributed System Installation Part 3
In this part we will cover up installation of Primary Application Server Instance.
Step1: Go to SWPM directory and then execute the ./sapinst.
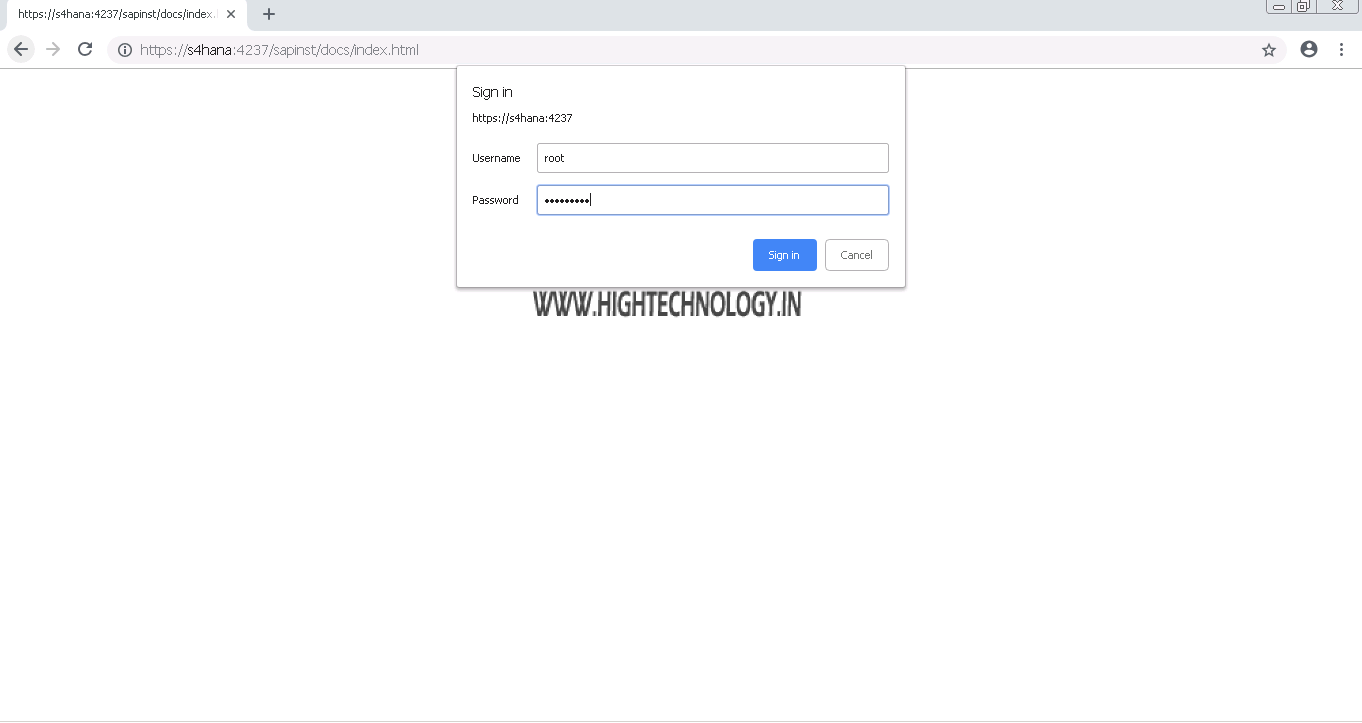
Step2: Open the provided link in browser and enter root credentials on browser pop-up window.
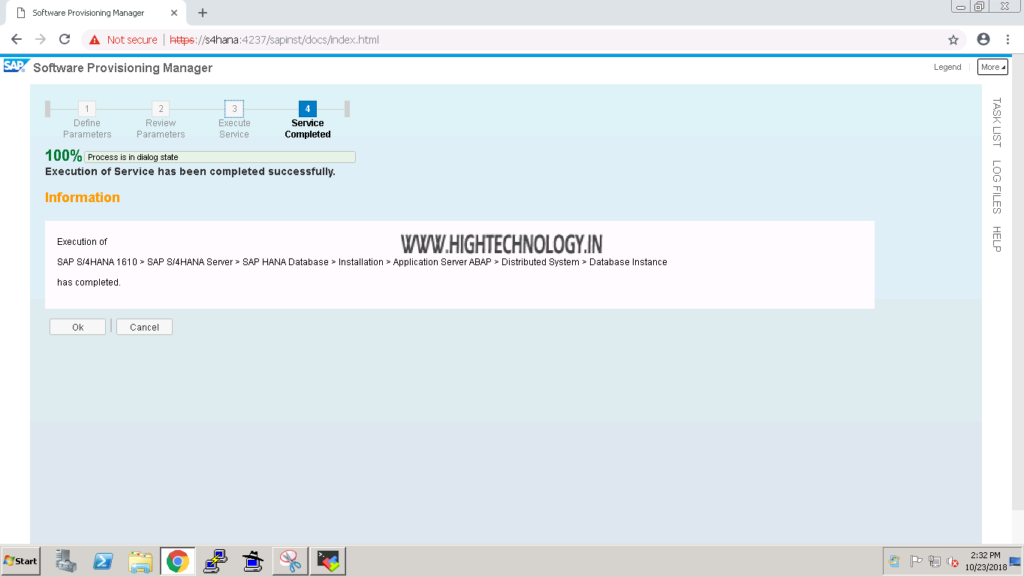
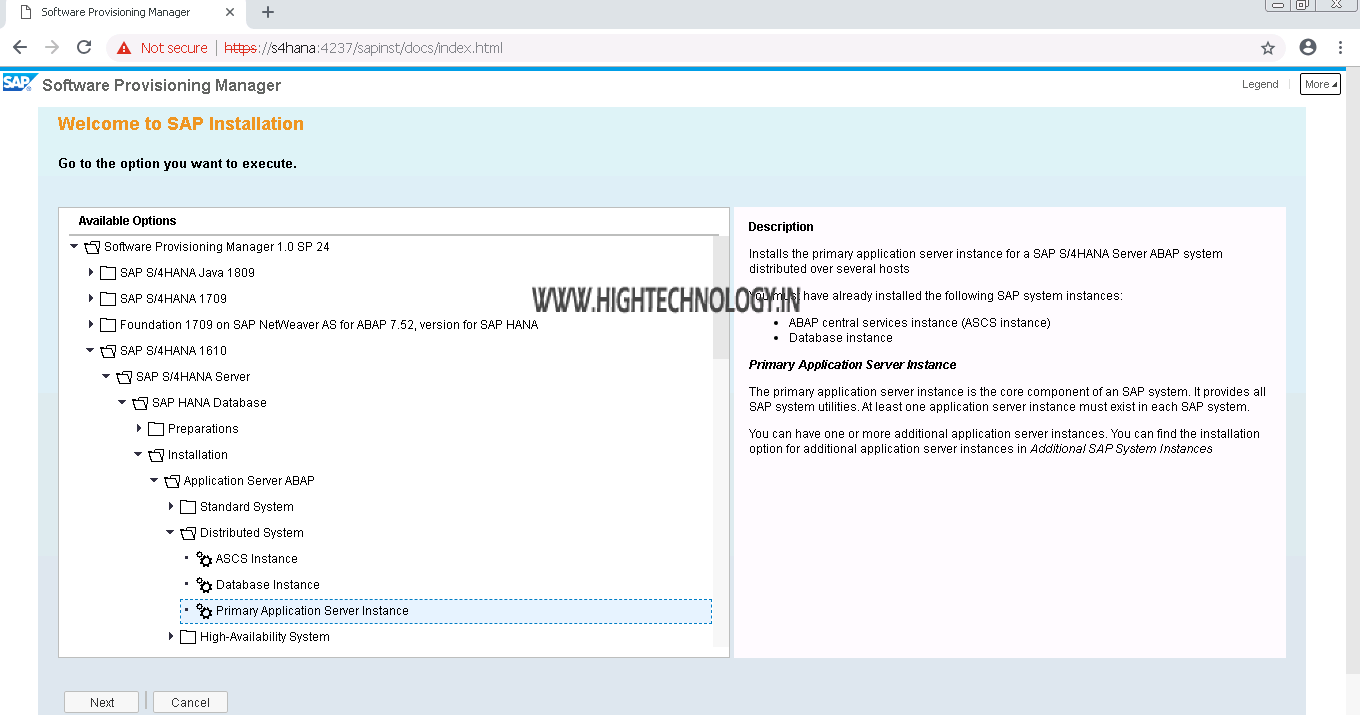
Step3: Now go to SAP S4HANA 1610 > SAP S4HANA Server > SAP HANA Database > Installation > Application Server ABAP > Distributed System > Primary Application Server Instance.
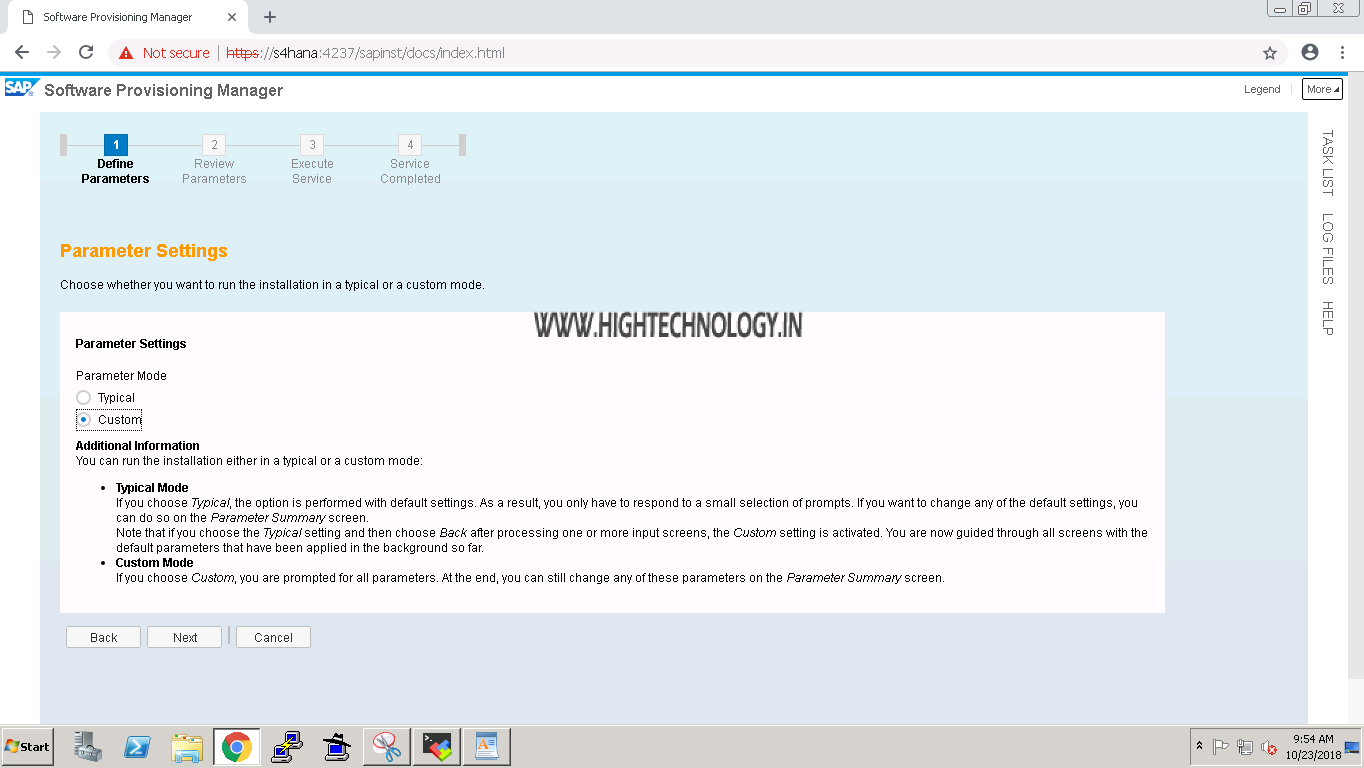
Step4: On Parameter Settings page, choose Custom. And click on Next.
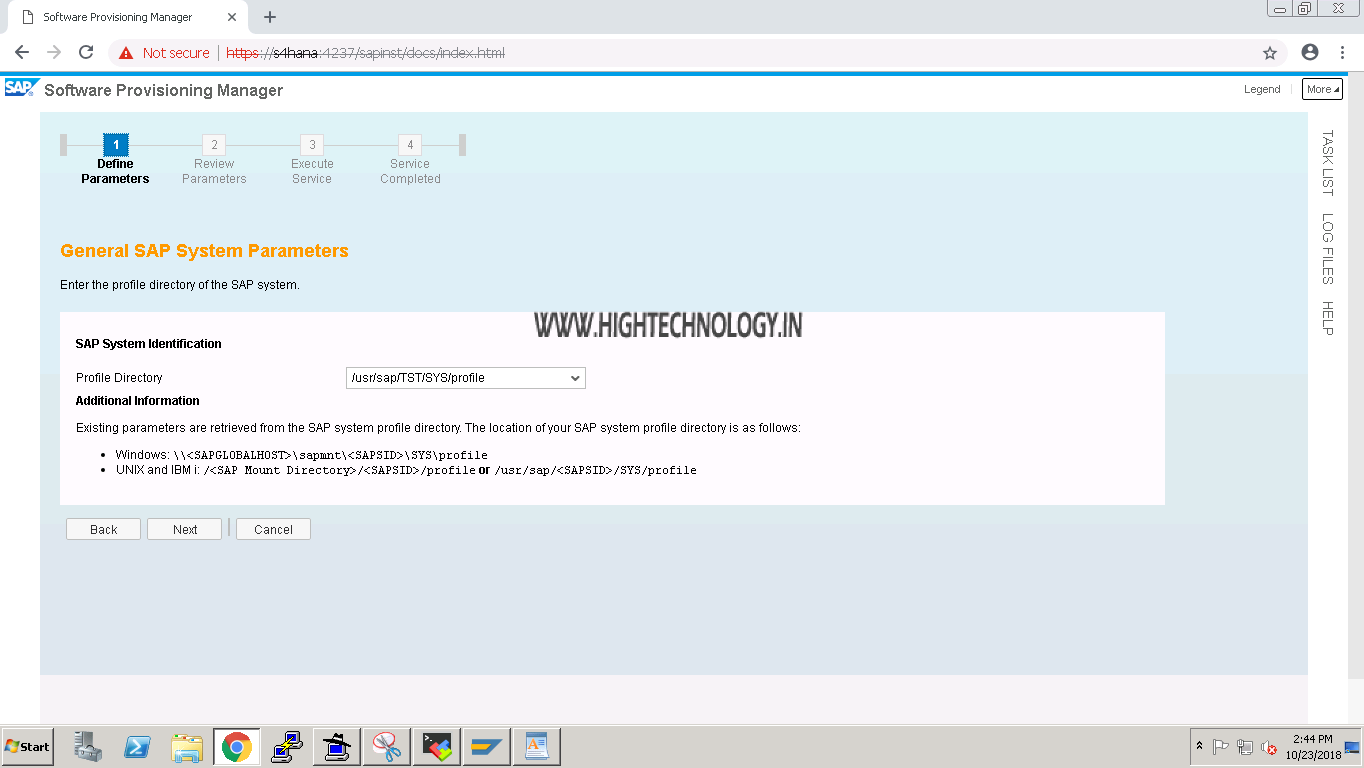
Step5: On next page, SAP System Identification. It by default selected the Profile Directory. Click on next.
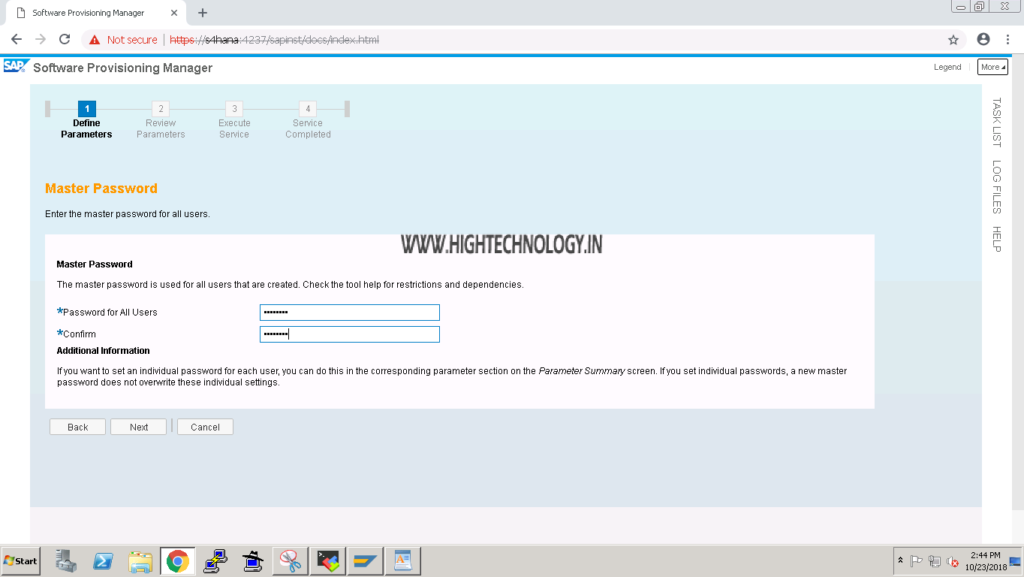
Step6: On next page enter Master password and click on Next.
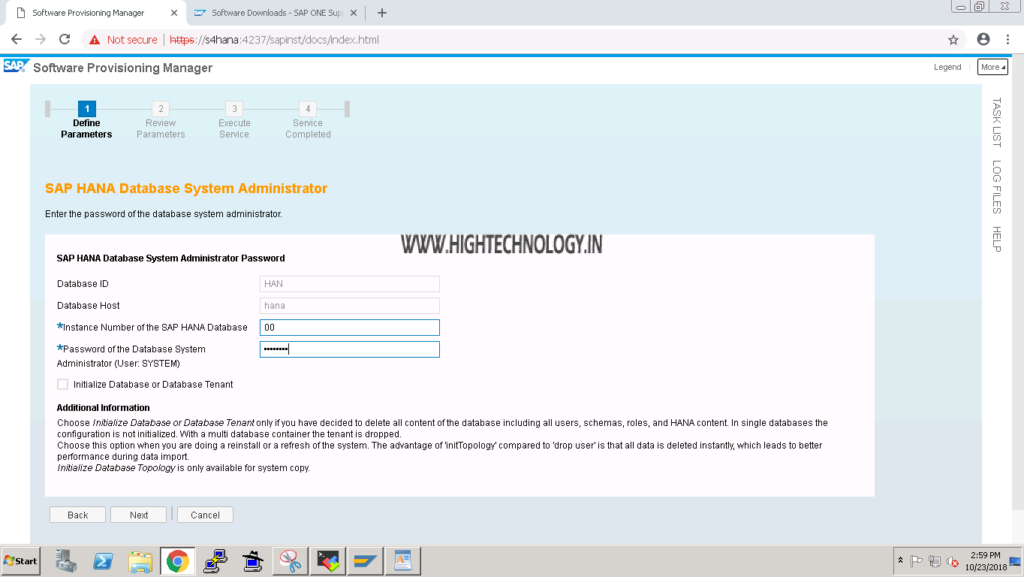
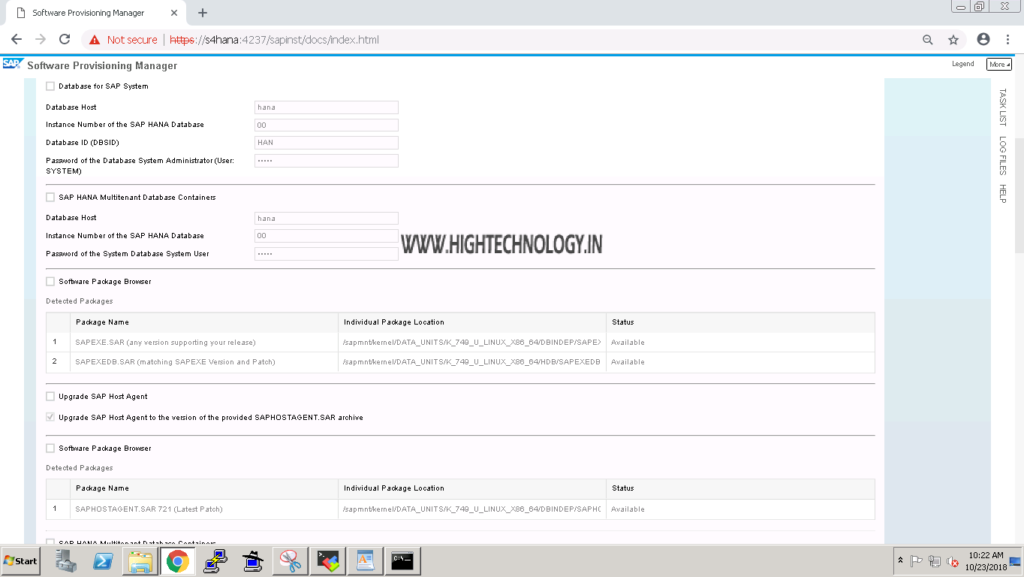
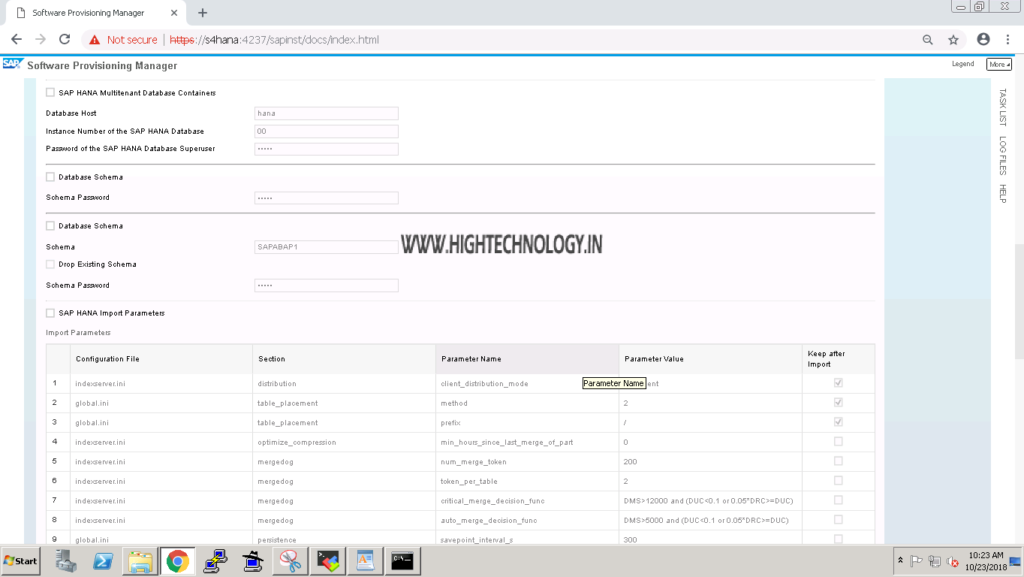
Step7: On next page enter Database HostNAME or IP,Instance number, DBSID, Database user SYSTEM Password(these are details: that we entered during the installation of SAP HANA Database on part1) and click on Next.
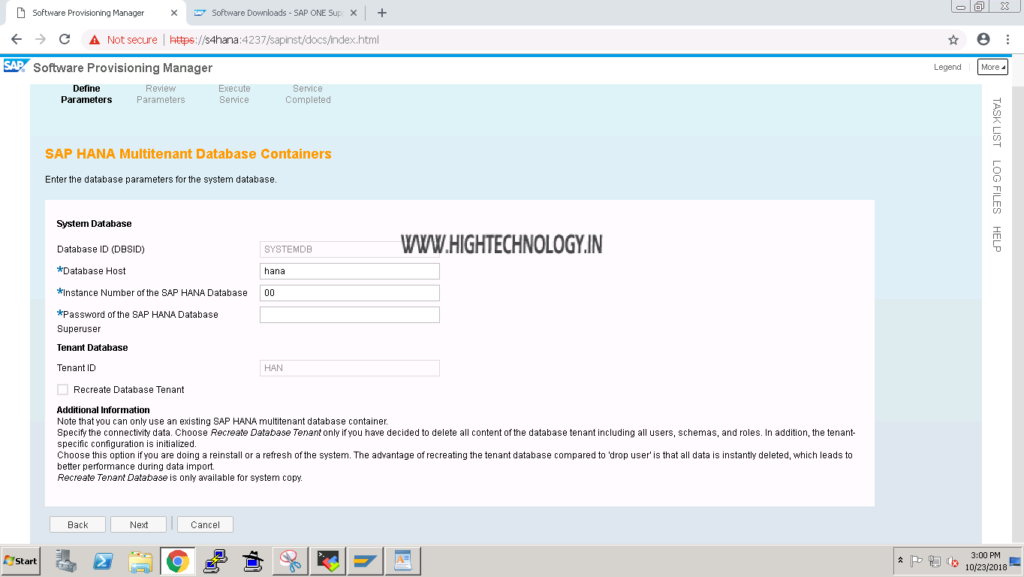
Step8: On next page it fetches system database name itself, review them and click on Next.
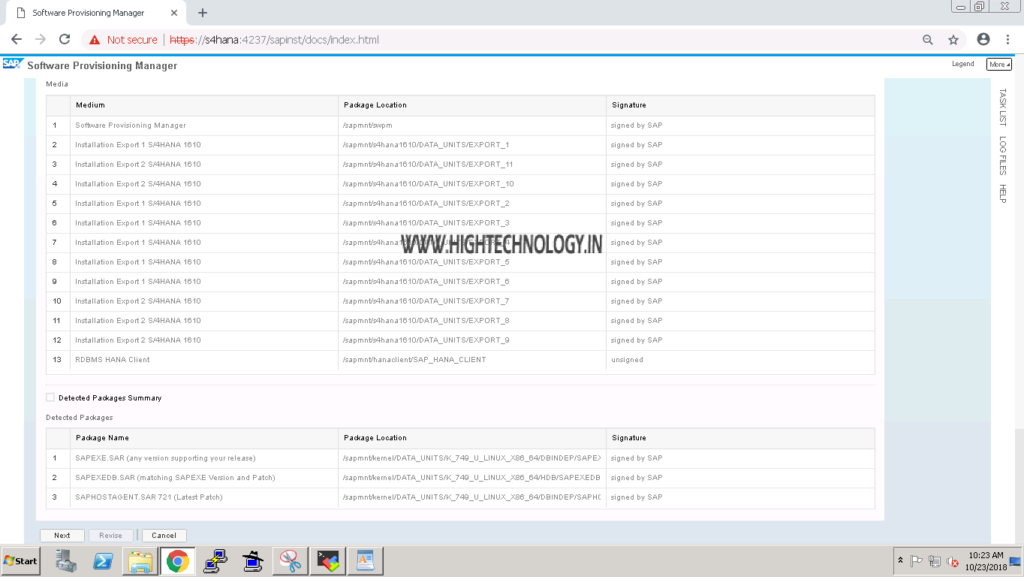
Step9: On next page, provide location of SAPEXE.SAR & SAPEXEDB.SAR file and click on Next.
Step10: On Next Page provide SAPHOSTAGENT.SAR file location, and click on next.
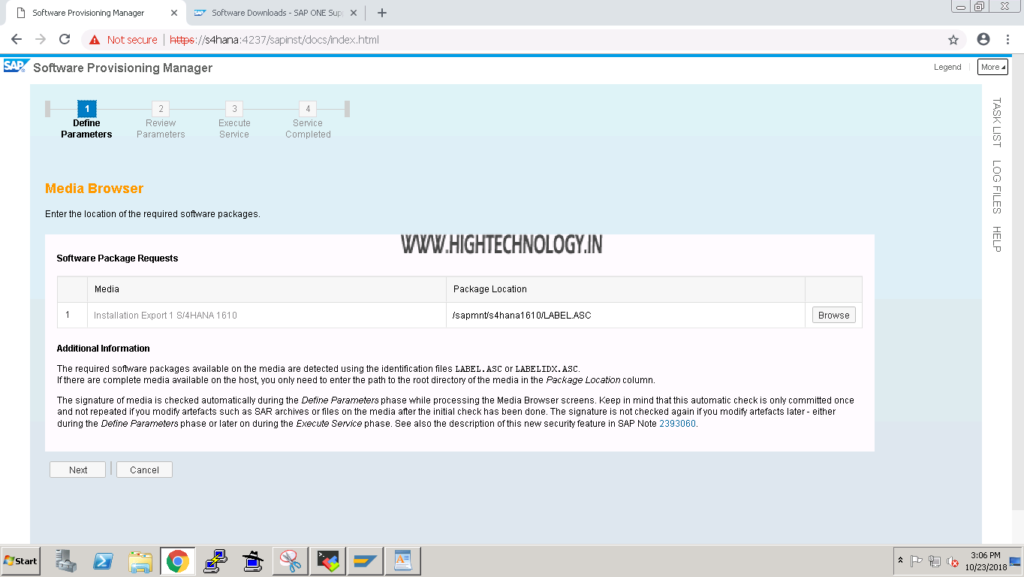
Step11: On Next Page provide location of LABEL.ASC file location or S4HANA installation export, and click on Next.
Step12: On next page, it shows us SAP HANA Database details, just review them and click on Next.

Step13: On next page, we will see database schema details just click Next.


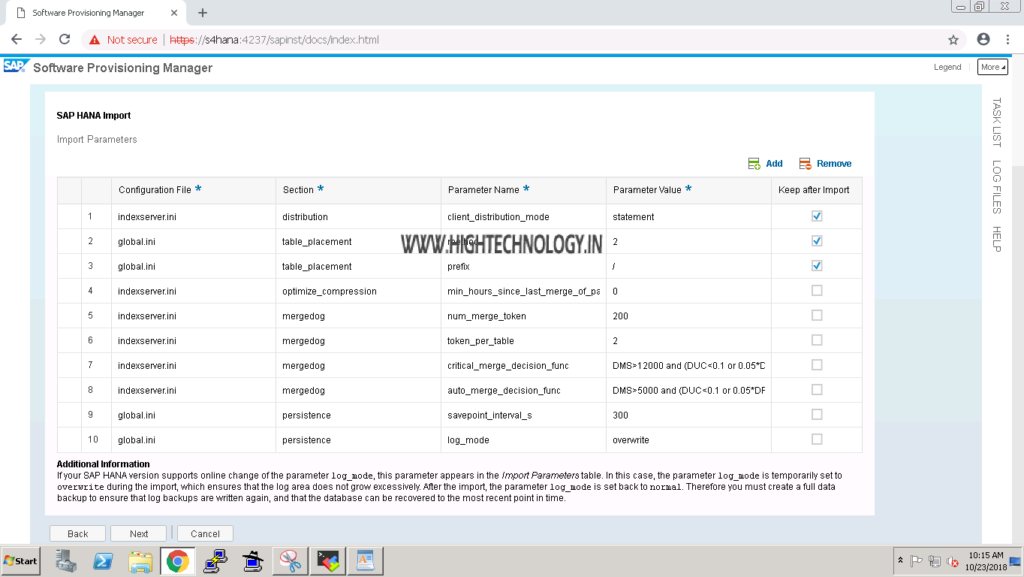
Step14: On next page it shows us Imprt parameter details of SAP HANA, click on Next.
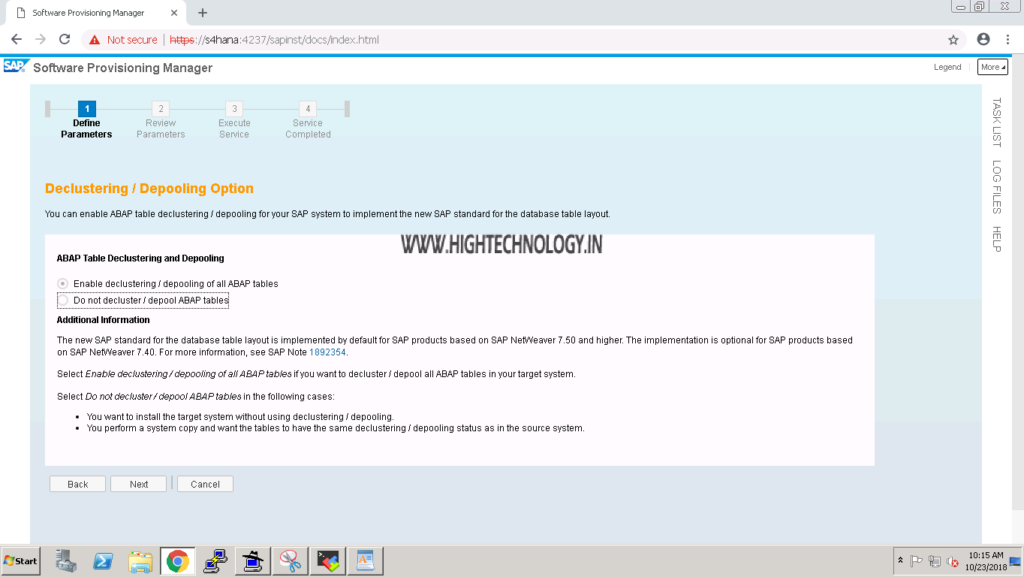
Step15: Click on next, as by default Declustering & Depooling option is selected.
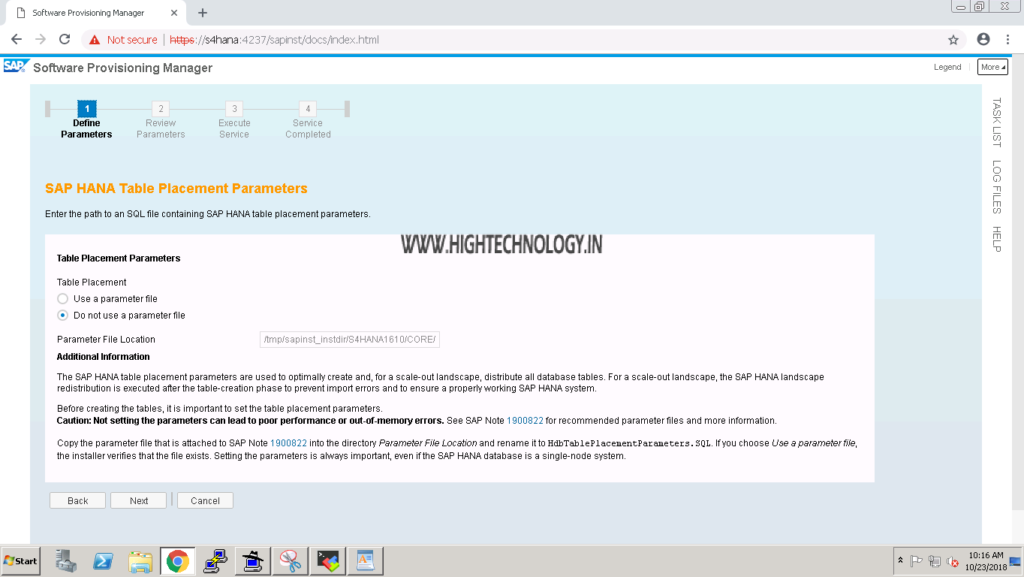
Step16: Check Do not use a parameter file and click on Next.
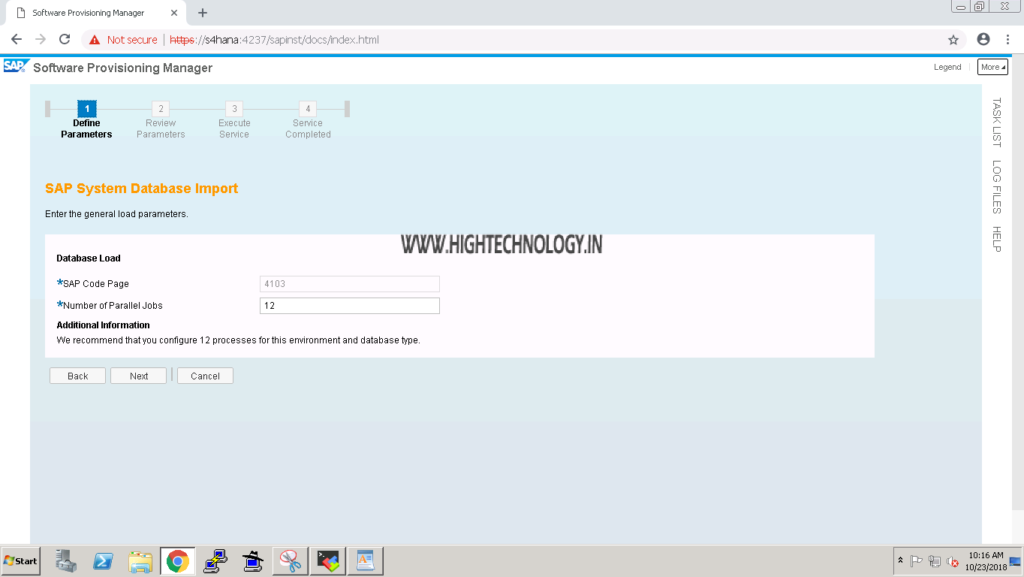
Step17: Provide number of parallel jobs, and click on Next.
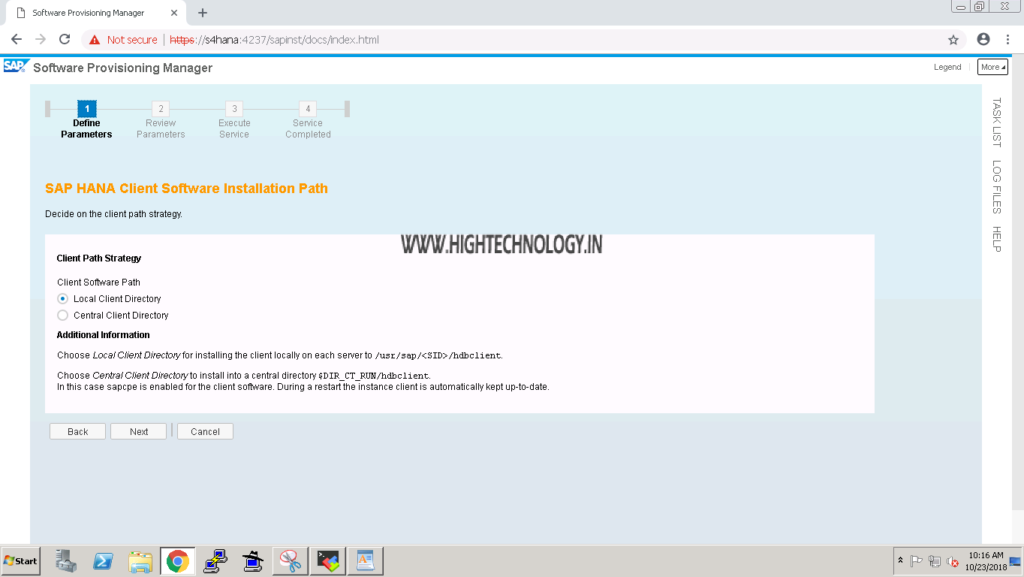
Step18: Choose Local Client directory and click on Next.
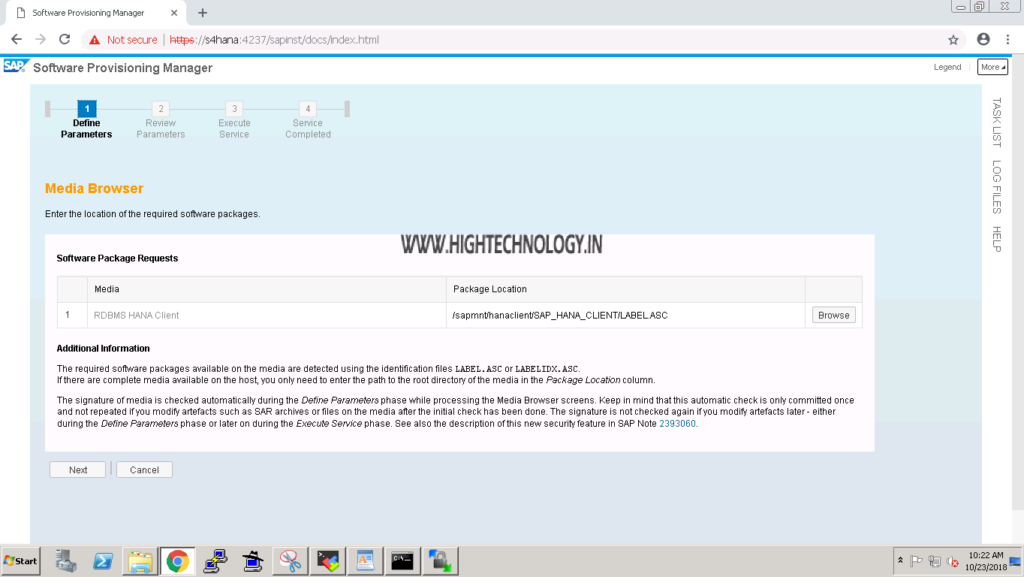
Step19: Provide SAP HANA Client Location and click on Next.
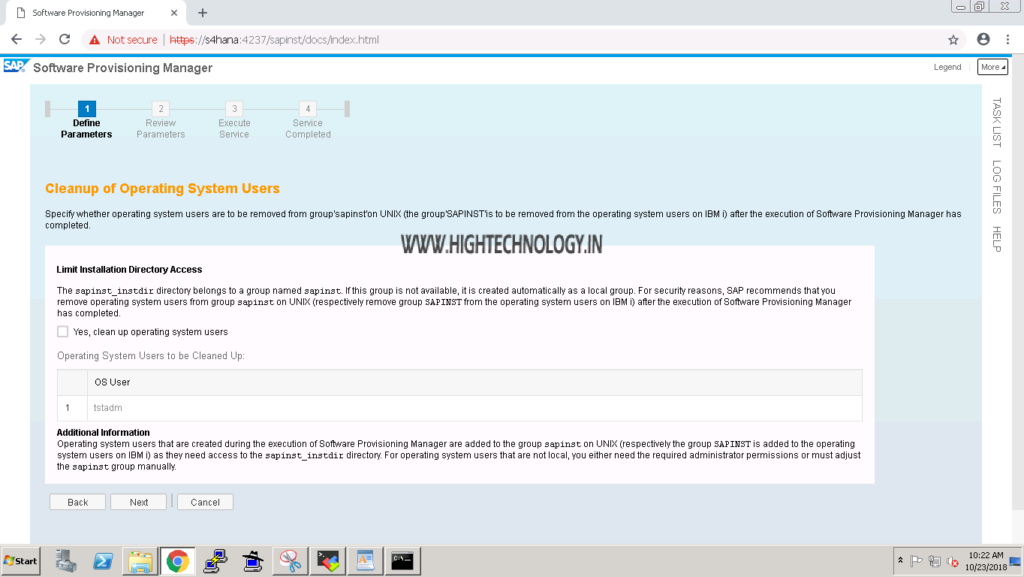
Step20: On next page provide check yes, cleanup operating system user, and then click on Next.
Step21: Review the installation summary and click on Next.

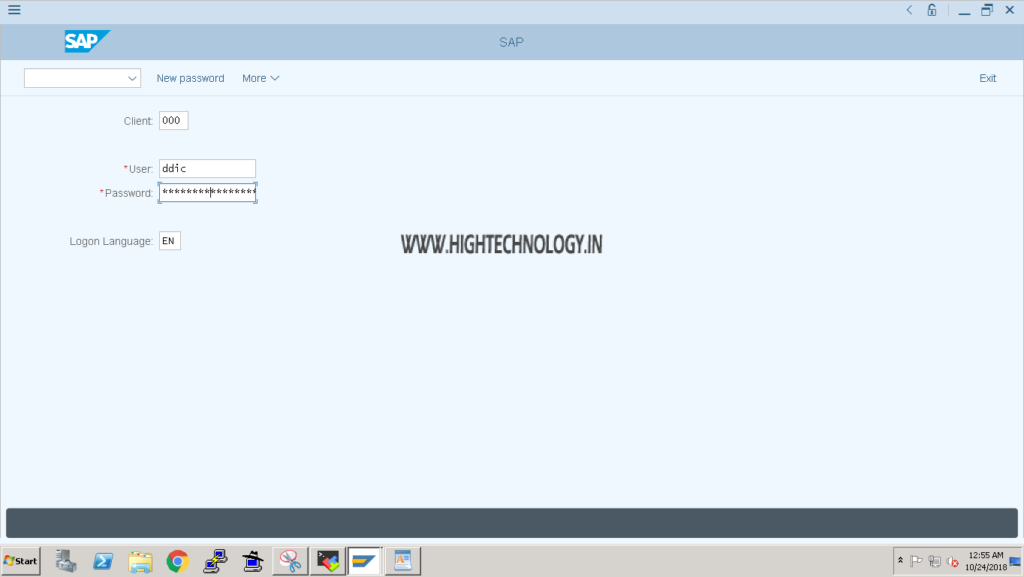
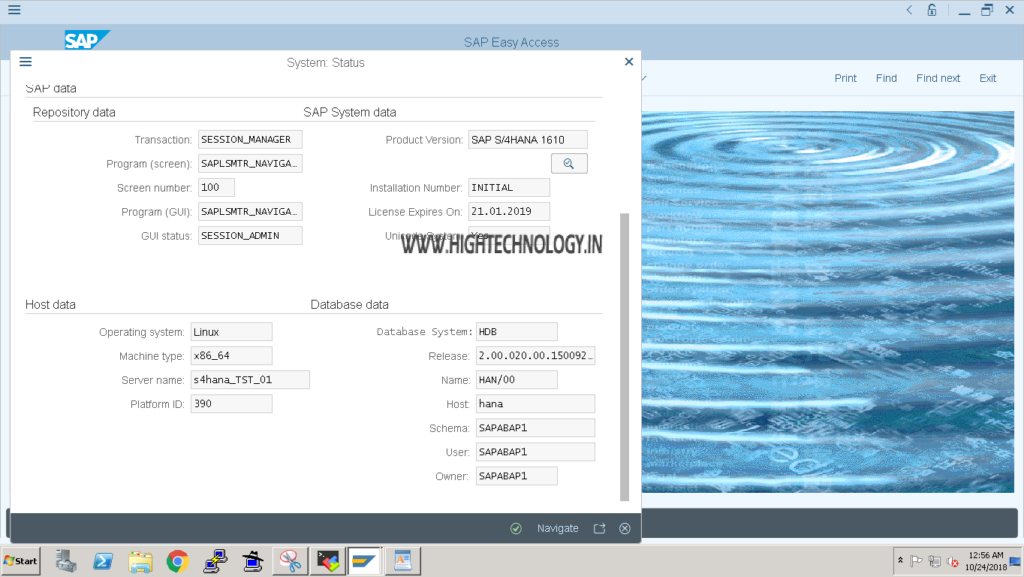
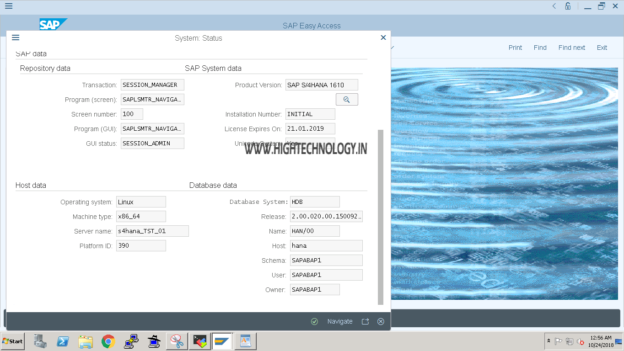
Step22: Once installation is successfull, you can login into your system with DDIC user and master password.